Brief instruction
Smarty supports work with cameras in the same way as the work of channels. In order for the camera to appear in the portal, it is necessary to perform the following algorithm of actions:
- Create a category of cameras. To do this, go to the Smarty section "Content settings" - "Camera Categories" and press the button "To create.".
- In the category creation form, specify the name of the category and the city corresponding to this category (the city is selected from the list of available cities previously created in the Smarty system admin), save the category.
- Go to the “Content Settings” section "Cameras" and press the button "To create.".
- In the form of the camera, indicate the following data:
- Name of the chamber;
- Camera category;
- The tariff plan within which the camera will be available (there is another way to provide access to the camera, about this method below).
- Specify streaming services and channel URL prefix
or
Specify the Multicast and Multicast channel streaming service
or
Specify a direct stream URL. - If an archive is configured for the camera, you also need to specify the EPG transmission program (you can use the transmission program that is generated using the dummy-source source, more details below).
After all the above actions, the camera can be considered configured and viewable in the portal.
More information about the settings of the categories of cameras, the cameras themselves, as well as the possibility of linking the camera to an account without a tariff plan can be found below:
Categories of cameras
To create a category of cameras need to go to the section “Content settings” – “Camera Categories” and press the button "To create.". Next, the form of creating / editing the category of cameras will open, in which the following data must be specified:
Name of category The name of the category of cameras that will be displayed in the portal. Any name can be specified, however, for convenience, it is recommended to indicate in the name the area or address where the cameras are installed.
Town The name of the city where the cameras are installed. The name of the city must correspond to the name of the city previously created in the Smarty system admin.
Position on the list after - sorting parameter. Can be relevant when creating a new category in order to immediately change the sorting of this category.

Once all categories are created, you can start creating the cameras themselves:
Cameras
To create cameras, you need to go to the section "Content settings" - "Cameras" and press the button "To create.". Next, the camera creation/editing form will open, in which you need to specify the camera parameters.
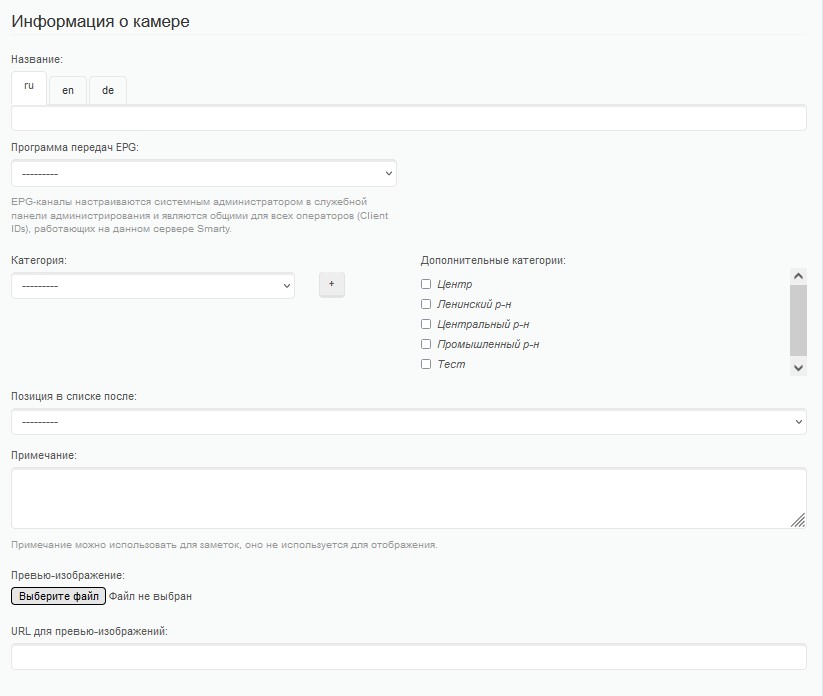
Camera information block
The following parameters can be specified in this block:
Title - the name of the camera. Mandatory parameter. This name will be displayed in the portal.
EPG transmission programme The camera transmission program is necessary if there are archival records from the cameras. You can use a transmission program created using a dummy source. In this case, all records will be broken at intervals of 1 hour.
Category/Additional categories Using these parameters, the category of the camera is determined. The categories of cameras, as well as the process of their creation, were described above.
Position on the list after - sorting parameter. Can be relevant for newly created cameras so they can be placed in sorting beforehand. Without specifying the position, the camera will be added last to the list.
Note - note field. The portal doesn't apply anywhere.
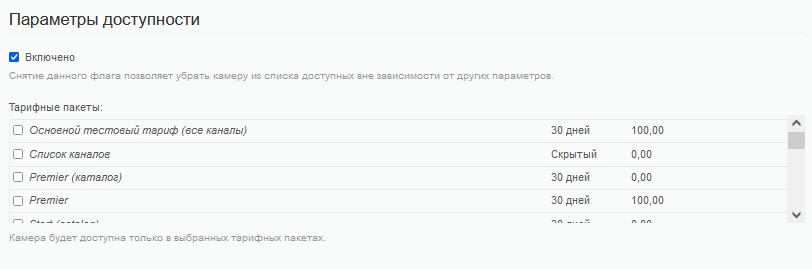
Availability parameters block
Check "Included" with the help of this tick, you can disable access to the camera regardless of other parameters.
Tariff packages Here you can specify within which tariff plans this camera will be available. There is another way to provide access to the camera (see block) "Tie the camera to the account").
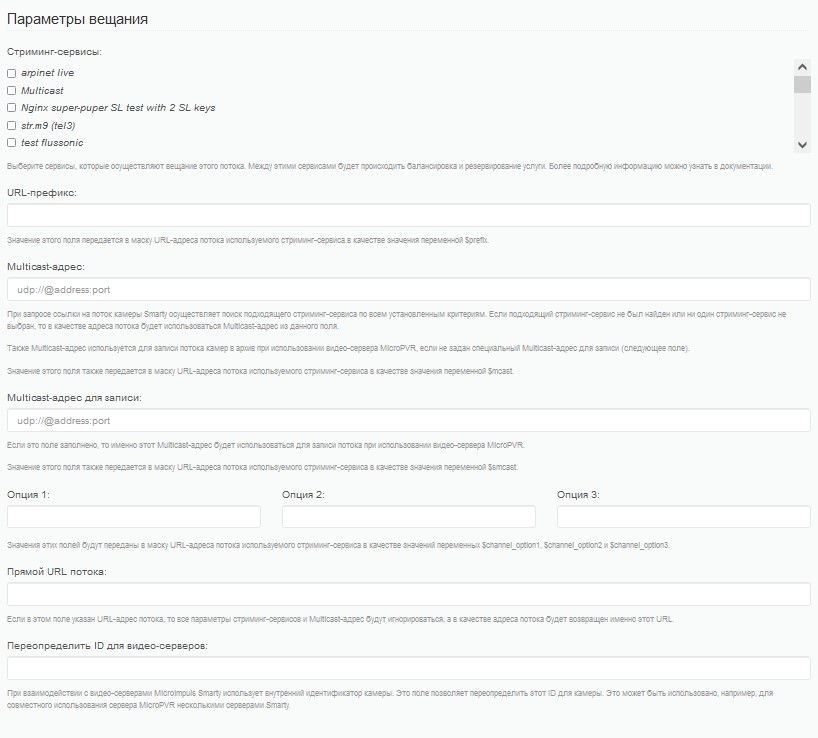
Broadcasting parameters
Streaming services - here you can specify streaming services, which are broadcasting the camera and write the archive.
URL-prefix - necessary for substitution in the mask of streaming services.
Multicast address - if the broadcast of the camera is carried out through Multicast, then in this line you can specify the address (you also need to create a streaming service like "Multicast" and link it to this camera).
Multicast address for recording In this field, you can specify a Multicast address to record the stream. This parameter may be relevant if different addresses are used for online broadcasting and recordings.
Options These parameters are needed to transfer additional parameters to the URL mask.
Direct stream URL - allows you to transfer the direct URL of the camera stream. If a direct stream URL is specified, all other broadcast parameters will be ignored.
Redefine the ID for video servers - allows you to override the camera id for, for example, a server with archival transmission records.
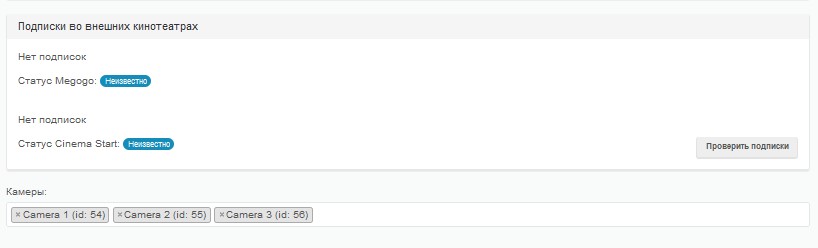
Linking the camera to the account without a tariff plan
In addition to providing access to the camera using a tariff plan, the camera can be linked directly to the account. To do this, the following algorithm of actions must be performed:
- Open the screen "Subscribers" - "Accounts";
- Select the appropriate account;
- Find the "Availability Options" block;
- In the line "Cameras" enter the name of the camera and select the desired camera from the drop-down list.
Thus, you can link the camera (or several cameras) to a specific account without the need to tie the camera to the tariff plan with the subsequent connection of this tariff plan to the account.